
 US Dollar

2026 Jan 14th
How to Clean Non Stick Pan and Keep It Like New
How to Clean Non Stick Pan and Keep It Like New
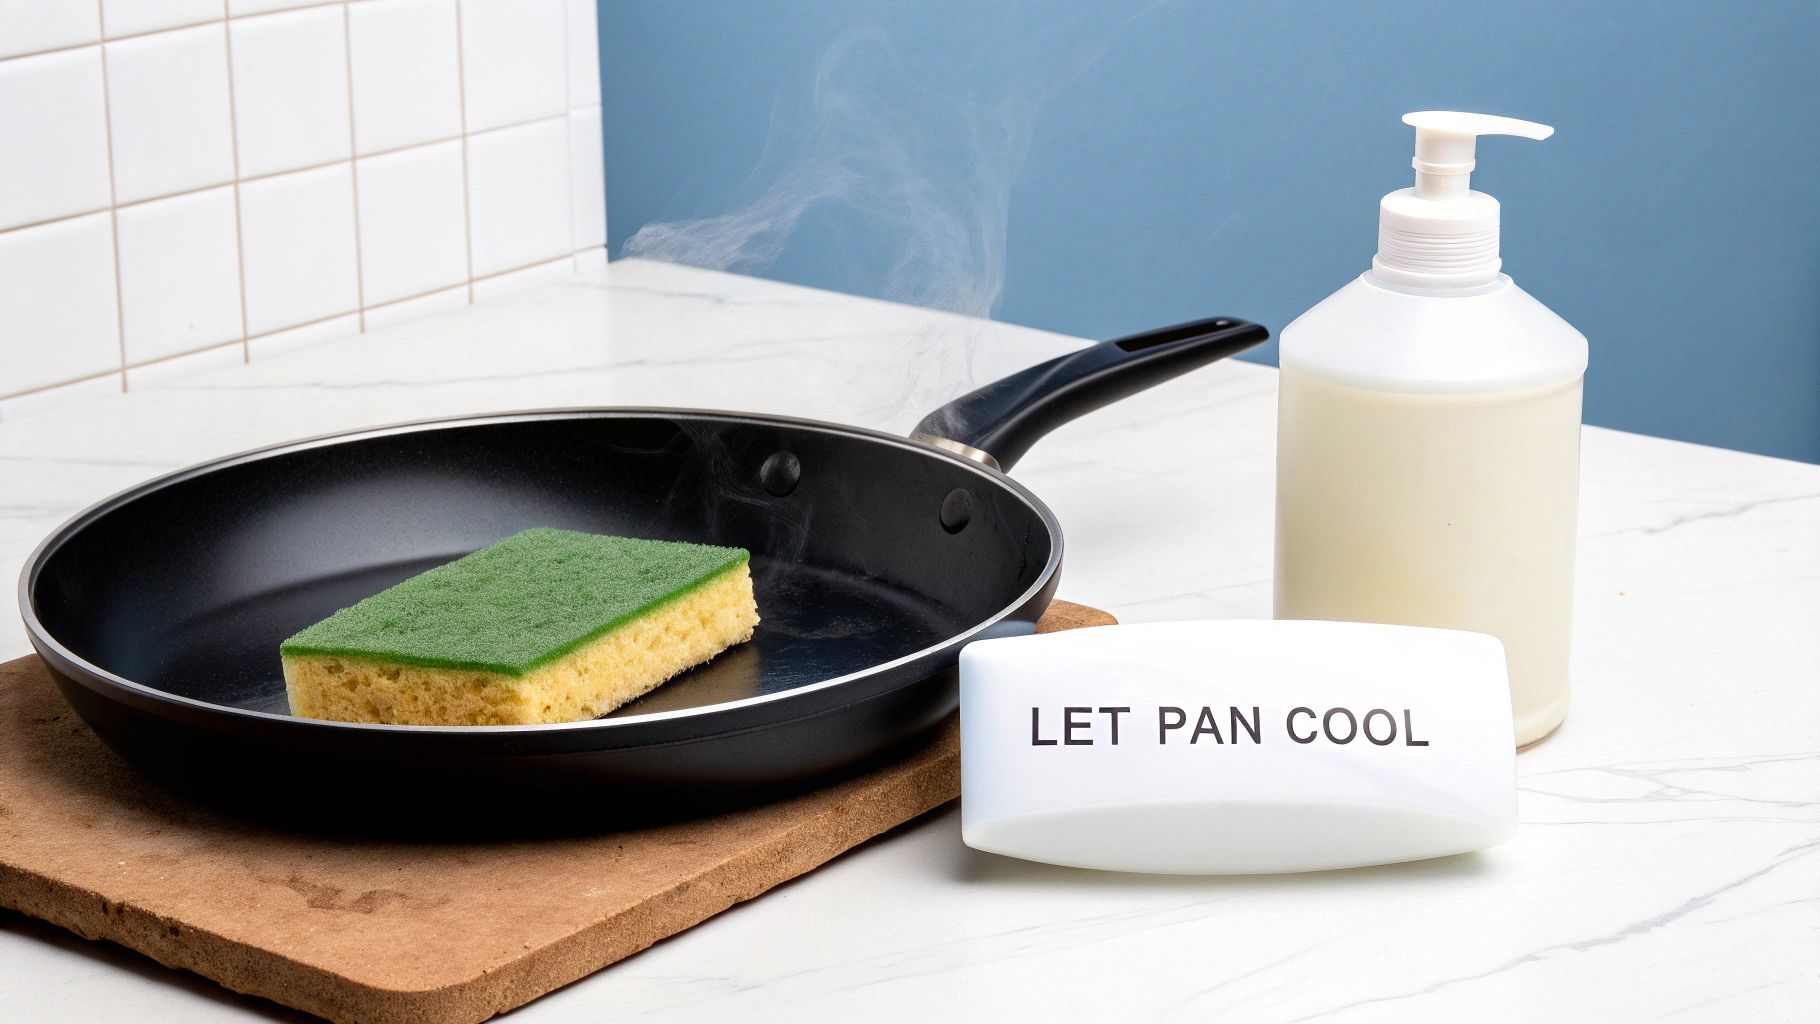
To clean a non-stick pan, the golden rule is to always let it cool down completely before washing. Tackling the daily cleanup with a soft sponge, gentle dish soap, and warm water is the simplest way to prevent warping and protect that delicate non-stick coating from scratches. A little patience ensures your pan lasts for years.
The Right Way to Clean Your Non-Stick Pan Daily
Whether it's in a bustling café kitchen or your home, your non-stick pan is a true workhorse. Making sure it's cleaned properly every day is the single most important thing you can do to keep it performing at its best. The goal is straightforward: get rid of the grease and food bits without hurting the surface.
The biggest mistake we see people make is plunging a hot pan straight into a sink of cold water. That sudden temperature change—known as thermal shock—is a surefire way to warp the metal. A warped pan won't sit flat on the stovetop, which leads to uneven cooking and hot spots that can ruin the coating for good.
Gentle Tools for a Lasting Surface
Your choice of cleaning tools is absolutely critical. Harsh, abrasive scrubbers will inevitably create tiny scratches on the non-stick surface. You might not see them at first, but these micro-scratches compromise the pan's ability to release food and can even become a health concern over time.
In fact, some research suggests damaged non-stick pans can release thousands, or even millions, of microplastic particles into your food. Protecting the coating isn't just about performance; it's about safety. You can read more about the potential risks of damaged cookware on popsci.com.
The secret to a long-lasting non-stick pan isn't aggressive scrubbing; it's consistent, gentle care. Think of the surface like a delicate finish that needs to be preserved, not scoured.
For that daily wash, the right tools make all the difference. We recommend pairing our specially formulated plant-based dish soaps with our line of non-abrasive cleaning sponges. They're designed to cut through grease effectively while being gentle enough for all non-stick surfaces, making them a perfect choice for janitorial teams and restaurant kitchens that clean cookware constantly.
This visual guide breaks down the simple yet crucial steps for keeping your non-stick pans in top shape.
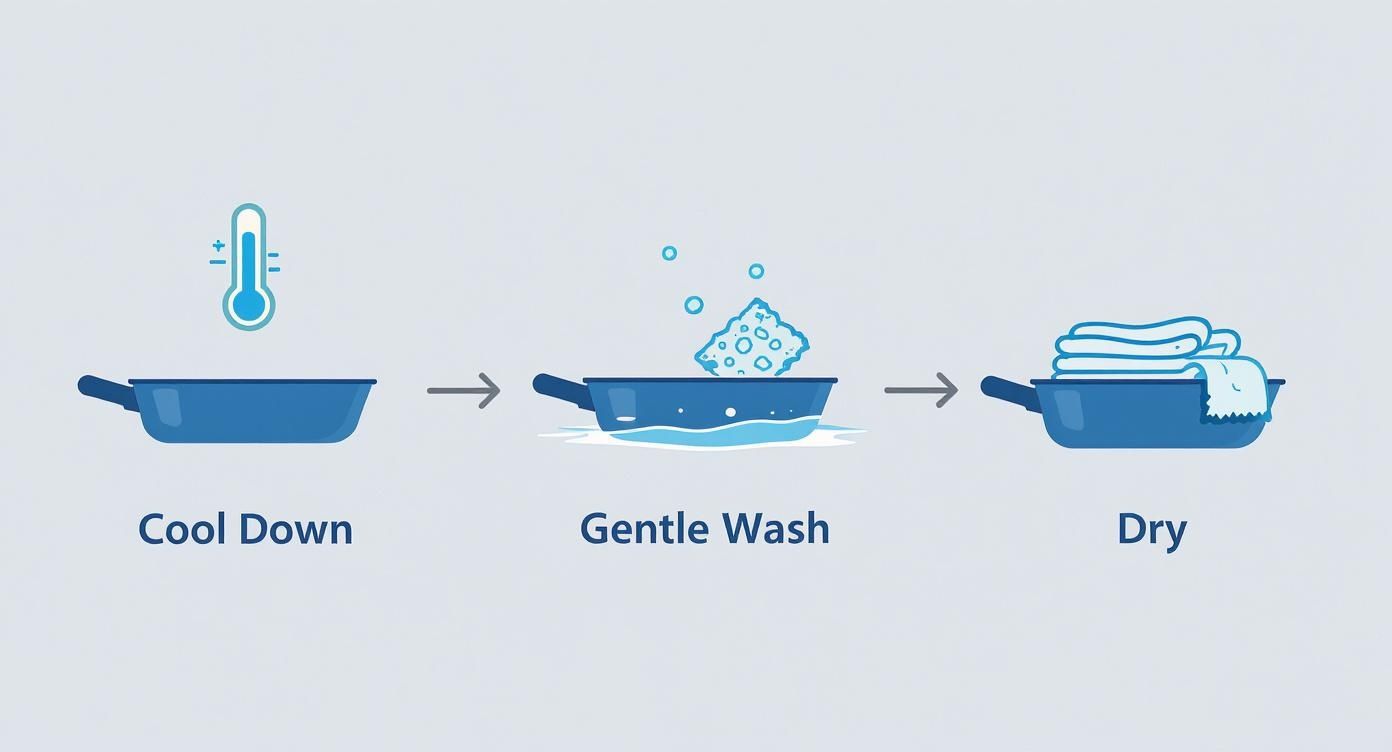
This process highlights the three pillars of proper care: cooling the pan down, washing it gently, and drying it thoroughly.
To make it even clearer, here's a quick rundown of what to grab and what to leave in the cupboard when you're cleaning your non-stick cookware.
Safe vs Damaging Cleaning Tools for Non-Stick Pans
| Tool Type | Safe for Non-Stick (Recommended) | Damaging to Non-Stick (Avoid) |
|---|---|---|
| Sponges | Soft sponges, non-abrasive scrubbers, microfibre cloths | Steel wool, green scouring pads, any abrasive sponge |
| Brushes | Soft-bristled nylon or silicone brushes | Metal brushes, stiff-bristled scrubbers |
| Soaps | Mild, pH-neutral dish soaps, plant-based formulas | Harsh detergents, oven cleaners, abrasive powders |
| Scrapers | Silicone or rubber pan scrapers for gentle lifting | Metal spatulas, knives, or any sharp objects |
Sticking to the tools in the "Safe" column will go a long way in preserving the life of your pans.
The Final Step: Drying and Storing
After washing, don't just leave your pan to air dry in a rack where it can get bumped or scratched by other dishes. Take a moment to dry it completely with a soft dish towel.
This simple step prevents water spots and ensures no moisture is left behind, which could degrade the coating over time. Proper drying is the final touch in a routine that guarantees your pan is ready for its next use.
Removing Tough Burnt-On Food and Stubborn Stains
Even with the best daily care, a moment's distraction is all it takes for a sauce to burn onto your pan or for oil to turn into that sticky, brown film. It happens in every kitchen. When it does, the gut reaction is to grab the nearest abrasive sponge and start scrubbing. Don't do it.
Aggressive scrubbing is a one-way ticket to a ruined non-stick pan. You'll create tiny scratches that compromise the coating forever. Instead, we're going to rely on a bit of kitchen chemistry and patience to get the job done right.
The secret isn't brute force; it's about using the right tools to gently break down the burnt-on mess. We've got two tried-and-true techniques that work wonders on even the most stubborn stains without harming the delicate surface.
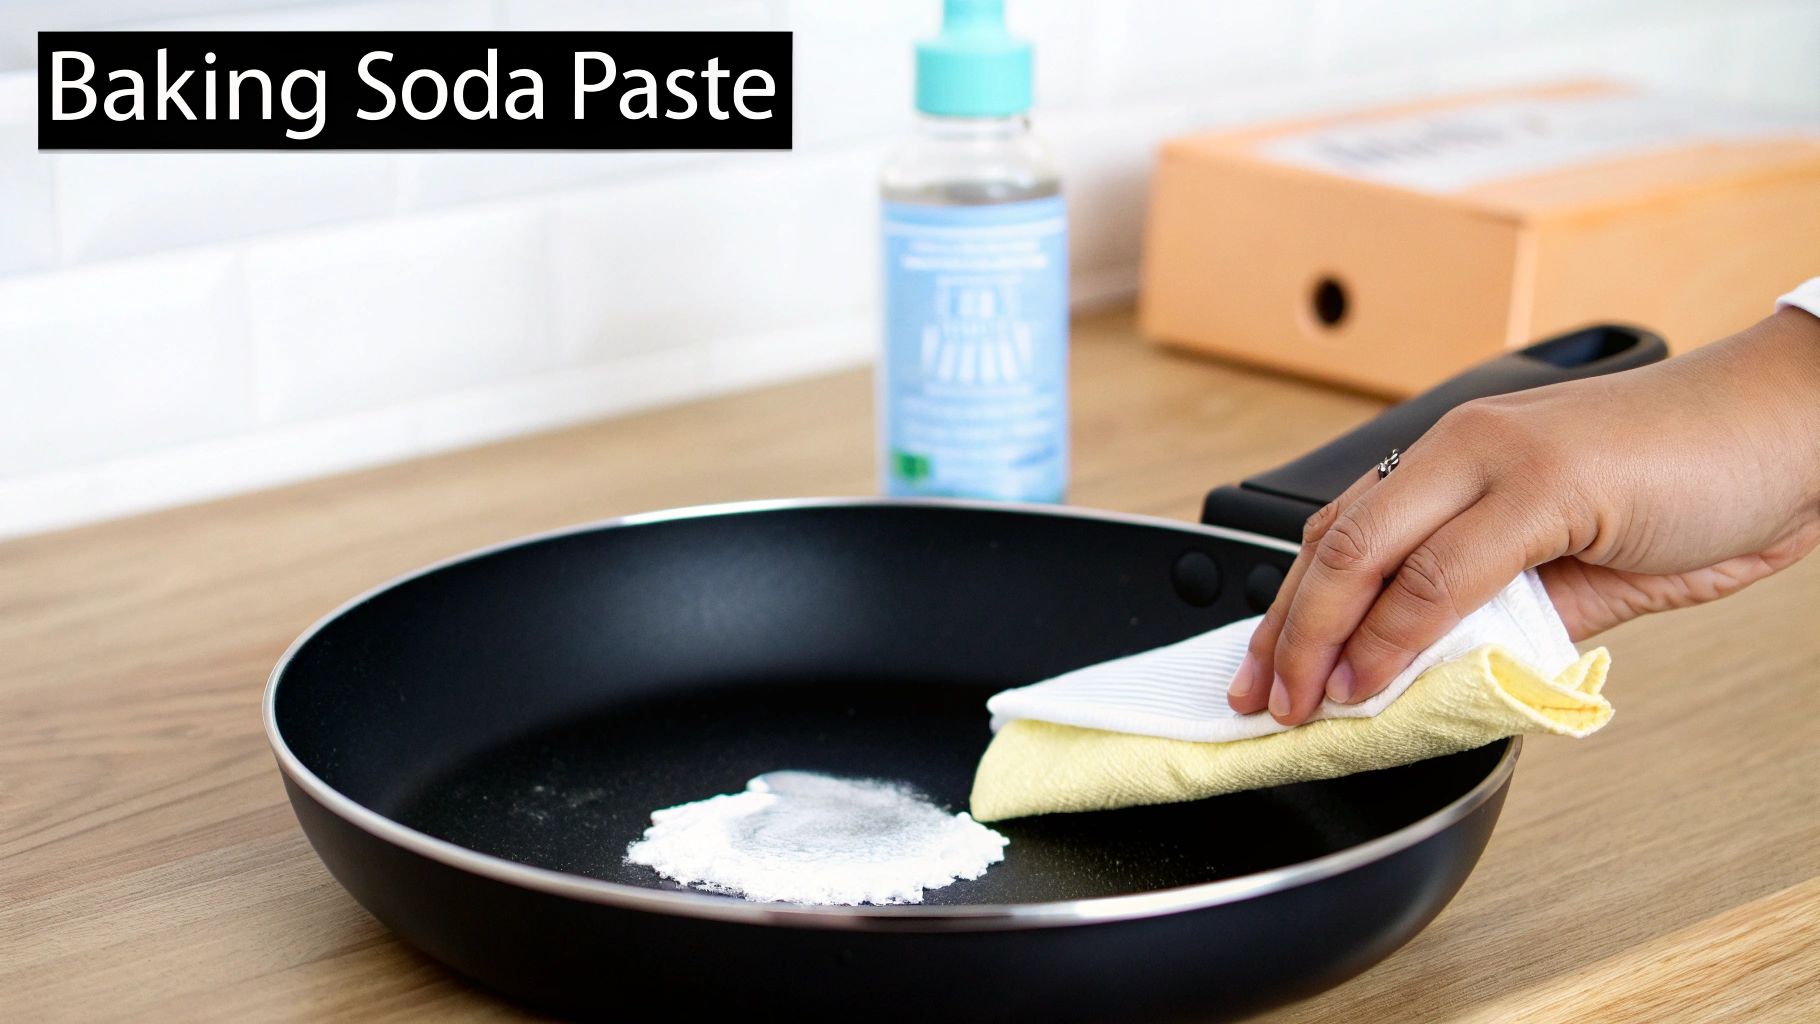
The Gentle Power of a Baking Soda Paste
Think of baking soda as a gentle giant. It's a mild abrasive, powerful enough to lift away grime but soft enough that it won't scratch the non-stick coating. It's the perfect fix for those dark, discoloured patches or stuck-on bits that soap and water just can't handle.
Making the paste couldn't be simpler. Just mix a bit of baking soda with a splash of water until you get a thick, spreadable consistency, almost like toothpaste. Spread this paste directly over the burnt-on spots on your cool, dry pan. Let it sit for at least 15-30 minutes. This gives the baking soda time to work its magic, breaking down the acidic food residue.
Once it's had time to sit, grab a soft sponge or cloth and gently work the area in a circular motion. You should feel the grime starting to lift away. Rinse the pan out with warm water, give it a quick wash with gentle dish soap to clear any leftover paste, and you're done. For these kinds of deep-cleaning jobs, our professional-grade bulk baking soda offers the quality and value that commercial kitchens depend on.
The goal is never to scour the pan. Let the baking soda paste do the heavy lifting by dissolving the bond between the burnt food and the pan's surface. A little patience here saves your pan from irreversible damage.
The Vinegar Simmer for Stubborn Residue
For those really stubborn, widespread messes—like a sticky glaze that just won't budge—a gentle simmer can work miracles. This method uses the mild acidity of vinegar to loosen up the food particles that have chemically bonded to the pan, making them easy to wipe away.
Here's the game plan:
- Mix the Solution: Pour equal parts water and white vinegar into the pan. You don't need much—just enough to cover the bottom and any of the burnt-on areas.
- Bring to a Simmer: Place the pan on the stove over low to medium heat. Let the mixture come to a gentle simmer. You're looking for light bubbling, not a roaring boil. Let it go for about 5-10 minutes. The combination of heat and acidity is what dissolves the grime.
- Cool Down and Clean: Take the pan off the heat and let the liquid cool down completely. Once it's cool, pour out the vinegar and water. The burnt-on food should now be soft and loose, ready to be wiped away with a soft sponge and a little dish soap.
This technique is incredibly effective for greasy films or sugary sauces that seem fused to the pan. For a reliable, cost-effective cleaning solution, consider our all-purpose cleaning vinegar, available in bulk for cafés, restaurants, and janitorial teams. It's the perfect partner in your quest to keep non-stick pans looking brand new.
Common Mistakes That Ruin Non-Stick Pans
Even the best non-stick pan can be accidentally ruined by a few common, seemingly harmless habits. Knowing how to clean a non-stick pan is only half the battle; avoiding these simple mistakes is what truly protects your investment and keeps your cookware performing beautifully for years.
You might be causing damage without even realizing it. From the tools you grab to how you store your pans, these small missteps can drastically shorten the lifespan of that delicate non-stick coating.
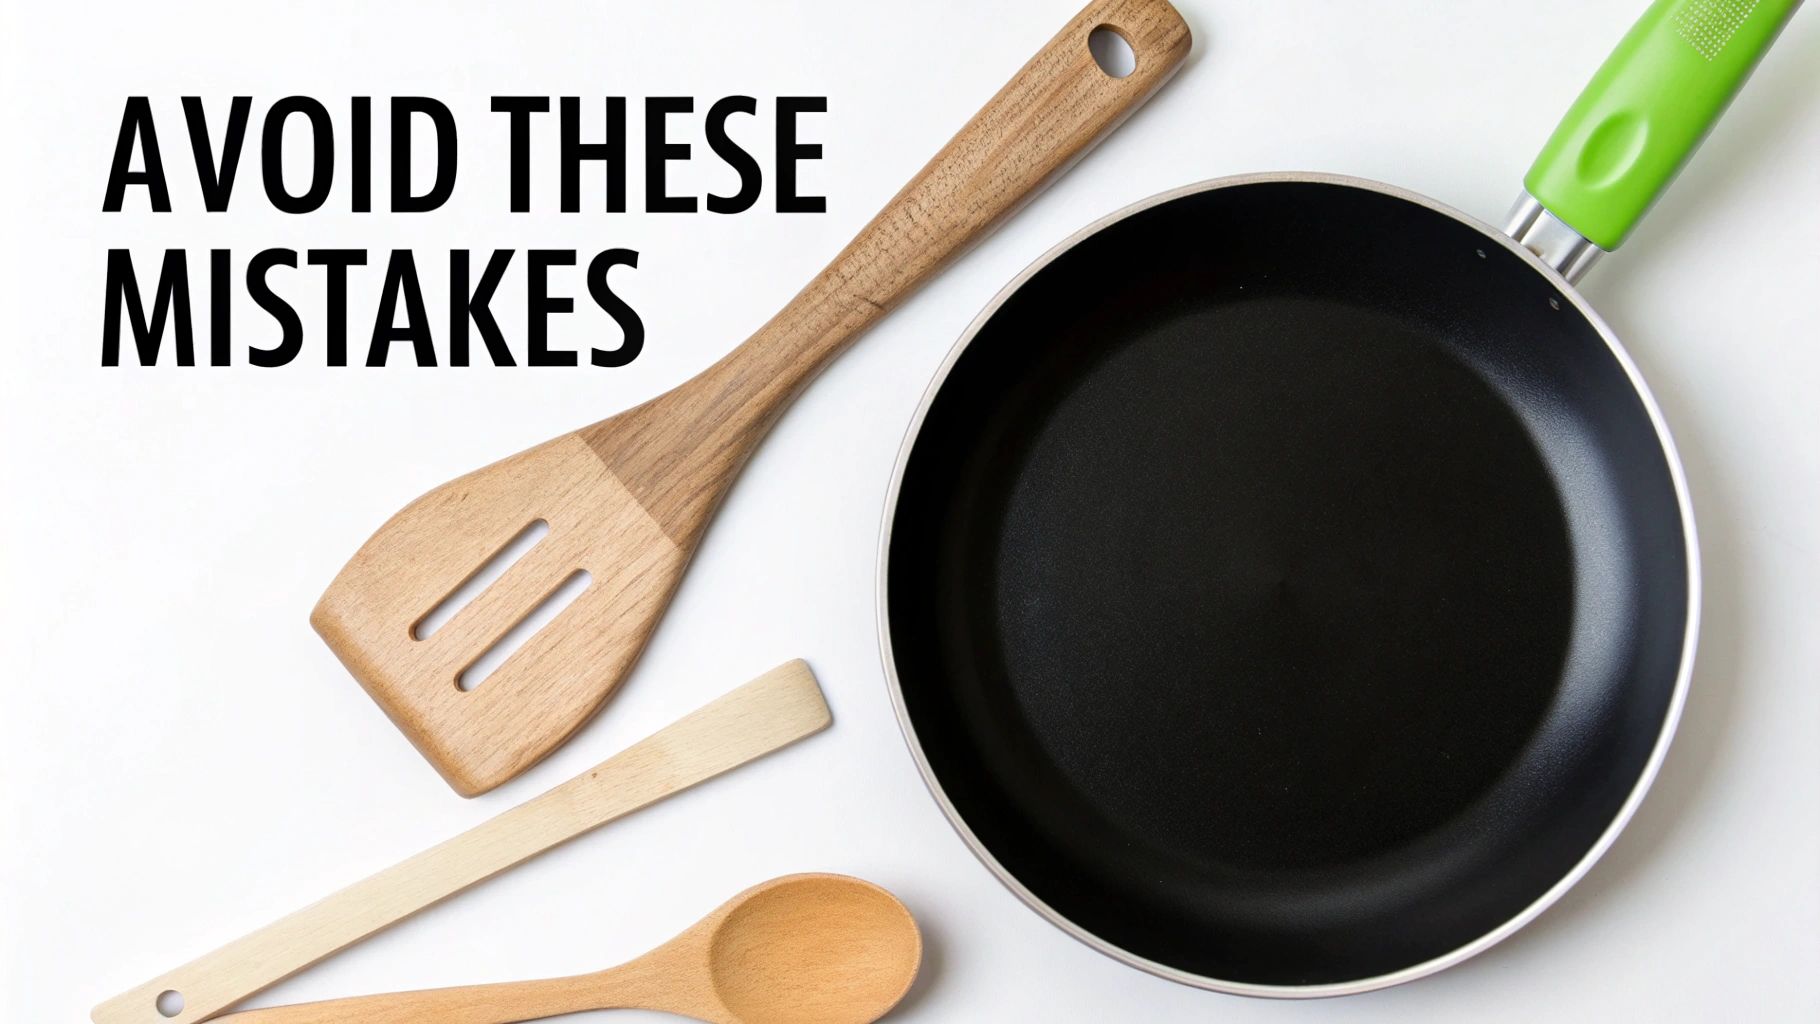
Using the Wrong Utensils
The fastest way to destroy a non-stick surface is by scraping it with metal. A metal spatula, fork, or whisk will easily scratch and chip away the coating, creating pathways for food to stick and potentially releasing coating particles into your food. This is non-negotiable.
Always, always opt for wood, bamboo, silicone, or nylon tools. These materials are gentle on the pan's surface and won't cause the micro-scratches that lead to premature wear. For any professional kitchen or busy janitorial team, investing in a durable silicone utensil set is a simple, effective fix to protect all your non-stick cookware.
Overheating and Aerosol Sprays
Two other common culprits are cranking up the heat and using aerosol cooking sprays. Non-stick coatings are not designed for extremely high temperatures, which can cause the coating to break down, discolour, and release fumes. Always cook on low to medium heat.
Aerosol sprays are also surprisingly damaging. The propellants and emulsifiers in these sprays burn at a much lower temperature than cooking oil, creating a sticky, gummy residue that is incredibly difficult to clean. This invisible buildup eventually ruins the pan's non-stick properties. Stick to a small amount of regular cooking oil or butter instead.
Stacking Pans Without Protection
After cleaning, many people simply stack their pans inside one another to save space. Unfortunately, the rough bottom of one pan grinding against the delicate surface of another is a recipe for disaster, leading to scuffs and deep scratches over time.
To prevent this, always place a protective layer between your pans. You can use:
- A couple of paper towels for a quick, disposable option.
- Soft dishcloths or tea towels.
- Specially designed felt pan protectors for a reusable and perfectly-sized solution.
This simple habit makes a massive difference in preserving the non-stick coating.
Putting It in the Dishwasher
I know, I know. Many non-stick pans are labelled "dishwasher-safe," but in my experience, this is often misleading. The combination of high heat, harsh detergents, and forceful water jets inside a dishwasher can slowly strip away the non-stick coating, causing it to become dull and ineffective.
Hand-washing is always the safest and most recommended method. It takes only a minute and is the single best way to ensure your pan's longevity.
The most common pan-killers are often habits we don't think twice about. Metal utensils, improper stacking, and aerosol sprays are three of the biggest offenders that slowly but surely degrade your pan's performance.
To make it even clearer, let's break down how these seemingly small errors add up over time.
Common Mistakes and Their Impact on Pan Lifespan
| Mistake | How It Damages the Pan | Preventative Solution |
|---|---|---|
| Using Metal Utensils | Creates scratches and chips in the coating, leading to food sticking and coating degradation. | Use only silicone, wood, bamboo, or nylon utensils. |
| Overheating the Pan | Causes the non-stick coating to break down, release fumes, and lose its effectiveness. | Cook on low to medium heat. Never heat an empty pan. |
| Using Aerosol Cooking Sprays | The propellants build up into a sticky, gummy residue that interferes with the non-stick surface. | Use a small amount of regular cooking oil or butter instead. |
| Stacking Without Liners | The bottom of one pan scrapes and scuffs the cooking surface of the pan below it. | Place a paper towel, cloth, or felt protector between pans. |
| Cleaning in the Dishwasher | High heat and harsh detergents slowly erode the non-stick coating over time. | Hand-wash with a soft sponge and mild dish soap. |
By steering clear of these common mistakes, you'll add years to the life of your favourite pan and keep it performing like new.
How to Season Your Pan for Better Performance
When you hear the word "seasoning," your mind probably jumps straight to cast iron skillets. But here's a little secret from the pros: seasoning is a game-changing trick for your non-stick pans, too. If you notice your favourite pan is starting to lose that slick, effortless glide, a quick seasoning session can bring it right back to life and seriously extend its lifespan.
Over time, the non-stick coating develops microscopic pores and imperfections from regular use. Seasoning fills in these tiny gaps, creating a smoother, more durable surface. It's a simple bit of maintenance that keeps your cookware performing at its peak, ensuring food releases perfectly every single time.
A Simple Method to Restore Your Pan
The whole process is incredibly straightforward. All you need is a little bit of the right oil and a few spare minutes. Unlike with cast iron, we're not trying to build a thick, baked-on layer here. The goal is just to apply a micro-thin film to refresh the surface.
Here's how you do it:
- Start with a clean slate. Wash your pan thoroughly with warm, soapy water and make sure it's bone dry. You need a pristine surface for this to work.
- Add a touch of oil. Pour about a teaspoon of a neutral cooking oil—canola, grapeseed, or vegetable oil are all great choices—into the pan.
- Gently warm it up. Place the pan on the stove over low heat for about 30 to 60 seconds. The goal is just to warm the oil, not get it smoking hot.
- Wipe and coat. Take the pan off the heat. Grab a paper towel and carefully rub the warm oil over the entire inside of the pan. You're aiming for a thin, even sheen. Wipe out any excess until the surface barely looks greasy.
- Let it cool down. Allow the pan to cool completely before putting it away. That's it—you're done!
For commercial kitchens that go through a lot of cookware, keeping everything in top shape is key. Explore our range of high-quality cooking oils, available in bulk to keep your whole lineup of pans in perfect condition.
Knowing When to Season Your Pan
So, how often should you be doing this? Honestly, there's no strict schedule. The best way to know is to let the pan tell you.
Pay attention to how your food behaves. If delicate items like eggs or fish begin to stick even with a little oil, it's a clear sign your pan could use a quick seasoning to bring back its slickness.
It's a good idea to season your pan in a few specific situations:
- After a deep clean: If you've just used a baking soda paste to tackle some stubborn, burnt-on gunk, you should always re-season the pan afterwards.
- As regular maintenance: For pans that see heavy action in a café or restaurant, a quick seasoning every few weeks can make a world of difference in their performance.
- When performance dips: The second you notice food sticking more than it used to, just take five minutes to refresh that surface.
This small step is one of the most effective ways to protect your non-stick cookware and keep it functioning exactly how it should.
Choosing Safer Cookware and Understanding the Materials
The conversation around how to properly clean a non-stick pan often opens up a much bigger question about the materials themselves. When you know what your cookware is made of, you can make a choice that aligns with your kitchen's performance needs and health priorities.
This is true whether you're outfitting a busy commercial kitchen or just your home.
For years, the go-to non-stick pan relied on PTFE (polytetrafluoroethylene) coatings. They worked, but concerns have rightfully grown around chemicals like PFOA and the larger PFAS family—often called "forever chemicals"—that were historically used to make them. This has pushed the industry toward much safer, modern materials.
The Move to PFAS-Free Ceramic Coatings
Ceramic non-stick cookware has become the leading alternative, and for good reason. Instead of a plastic-based layer, it uses a silica-based gel made from sand. This gel is sprayed onto the pan and cured with heat, creating a hard, glassy surface that food just slides right off of.
There are some real, tangible benefits to going with ceramic:
- A Focus on Safety: High-quality ceramic coatings are made without PTFE, PFOA, or any other PFAS chemicals. They're also free from lead and cadmium, giving health-conscious kitchens total peace of mind.
- Handles the Heat: Some older coatings can start to break down at high temperatures, which is when you risk fumes being released. Ceramic surfaces are generally much more stable and durable under heat.
- It Just Works: Let's be honest, none of the safety stuff matters if the pan doesn't perform. Modern ceramic offers fantastic food release, meaning you can often cook with less oil or butter, which makes cleanup even easier.
This shift isn't just a fleeting trend; it's a direct response to customer demand and new regulations. Safety testing, especially in places like California, has put a spotlight on PFAS-free products.
For example, companies like 'Made In' Cookware have had their ceramic coatings third-party tested to prove they are free from PFAS, heavy metals, and BPA. This is happening in lockstep with a changing regulatory landscape, including California laws that, as of 2023, prohibit misleading marketing about PFAS in cookware. You can read the full testing results and learn more about cookware safety standards on madeincookware.com.
Making the Switch with Confidence
When you choose safer cookware, you can stop worrying and get back to focusing on what matters: cooking great food and cleaning up efficiently. The screenshot below from Made In's report gives a clear, transparent look at their testing, showing their products meet some very tough safety standards.
This is the kind of transparency that empowers cooks—both professional and at home—to pick gear that is both high-performing and safe. It's an approach we champion at Chicken Pieces by offering our own line of rigorously tested PFAS-free ceramic non-stick pans, a dependable and safe solution for any kitchen.
By investing in modern, non-toxic ceramic cookware, you're not just getting an easy-to-clean pan; you're making a conscious choice for a healthier cooking environment.
Your Top Questions About Non-Stick Pan Care
Even the most seasoned kitchen pros run into questions when it comes to keeping non-stick pans in top shape. We get asked all the time about the little details that make a big difference. To help you troubleshoot like an expert, we've gathered the most common queries we hear from kitchens, big and small.
Can I Ever Use Steel Wool on a Non-Stick Pan?
Let's make this simple: never. Using steel wool or any other abrasive scourer is the fastest way to send a non-stick pan to the scrap heap. It gouges the coating, creating deep scratches that not only ruin its food-release properties but can also cause bits of the surface to flake into your meals.
When you're faced with a stubborn, burnt-on mess, patience is your best tool. A simple paste of baking soda and water offers just enough grit to lift away food without harming the delicate surface. Remember, it's about gentle persuasion, not brute force.
Why Is My Dishwasher-Safe Pan Losing Its Coating?
This is a classic and frustrating problem. While plenty of manufacturers slap a "dishwasher-safe" label on their pans, it's more of a suggestion that the pan can survive the wash, not that it will thrive. The reality is that the combination of high-heat drying, harsh detergents, and prolonged water exposure is brutal on non-stick coatings.
Over time, this harsh environment will inevitably break down the surface, making it dull, sticky, and prone to chipping. The best way to protect your investment? Hand-washing is always the answer. It only takes a minute and is the single most effective thing you can do to extend the life of your cookware.
The "dishwasher-safe" label often means the pan can survive the wash, not that it will thrive. Hand-washing is the only way to ensure the non-stick surface remains intact for years.
How Do I Remove That Sticky Cooking Spray Residue?
You know that tacky, brownish film that just won't wash off? That's the stubborn residue left behind by aerosol cooking sprays. The propellants in the spray burn at a low temperature, creating a polymerized layer that regular soap and water can't touch.
The good news is there's an easy fix. Try the vinegar and water simmer method to break it down.
- Pour equal parts white vinegar and water into the pan—just enough to cover the bottom.
- Bring the mix to a gentle simmer on the stove and let it bubble for about 5 to 10 minutes.
- Take it off the heat, let the pan cool completely, and then wash as usual with a soft sponge and dish soap. The vinegar's acidity should have loosened the sticky buildup, allowing you to wipe it clean.
What Are the Signs It's Time to Replace My Pan?
Knowing when to retire a pan is key for both cooking performance and food safety. A worn-out pan isn't just an inconvenience; it can be a hazard. Here's what to look for:
- Deep Scratches: If you can see the silvery aluminum peeking through the dark coating, the surface is compromised and it's time for a replacement.
- Flaking or Peeling: Any sign of the coating actively peeling or flaking off is a major red flag. That pan should no longer be used for cooking.
- Warping: A pan that wobbles or spins on a flat cooktop won't heat evenly, leading to hot spots and burnt food.
- Major Discolouration: While a few light stains are normal, a dark, carbonized buildup that you can't remove means the pan is past its prime.
- Everything Sticks: The most obvious sign of all. If even a simple fried egg sticks no matter what you do, the non-stick properties are gone for good.
Keeping your kitchen stocked with high-performing, reliable cookware is essential. At Chicken Pieces, we offer a full range of commercial-grade cleaning supplies and durable, PFAS-free non-stick pans designed to meet the demands of any kitchen. Explore our collection to find the perfect tools to keep your operations running smoothly. Find everything you need at https://www.chickenpieces.com.